
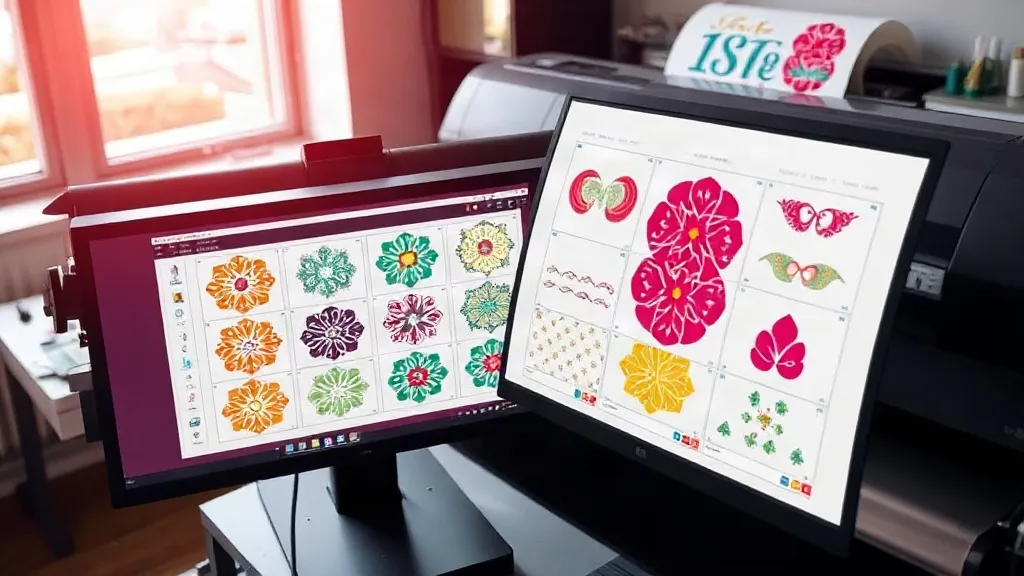
You have probably heard that a DTF Gangsheet can slash your transfer costs and speed up production. But if your prints keep failing or your profit margins are thinner than expected, the culprit might be a handful of subtle mistakes in your workflow. After visiting dozens of small print shops and talking to operators who run DTF presses daily, I have seen the same five errors over and over. Each one quietly eats into your film, ink, powder, and time. The good news? They are all fixable, and most fixes cost nothing but attention to detail.
Mistake 1: Treating Nesting as an Afterthought
Nesting is the art of arranging images on a gangsheet to use every square inch of film. Many beginners simply drag and drop designs until they fit, leaving large gaps. That wasted space is wasted money. Film is not free, and neither is the ink and powder that cover it. A well-nested sheet can hold 15 to 20 percent more transfers than a haphazard one.
How to fix it: Use nesting software or your RIP's auto-nesting feature. Rotate images when possible, and group small items into the gaps between larger ones. Remember that you need a small margin around each design for cutting, but you do not need huge borders. Aim for a gap of 2 to 3 mm between designs. Also, consider the grain of the film if you are using a roll; aligning designs with the roll direction can reduce curling later.
Mistake 2: Ignoring Film Orientation and Shrinkage
DTF film has a subtle grain direction, just like paper. If you print across the grain, the film may shrink unevenly when heated, causing your transfers to warp or the powder to crack. Many operators do not realize this until they press a shirt and see the design distort. Another related issue is film shrinkage during printing: if your printer's platen temperature is too high, the film can stretch or wrinkle, ruining the sheet.
Fix: Always load film with the grain running along the print direction. Check your printer's platen temperature; it should be cool to the touch. If you are using a roll, let it acclimatize to room temperature before printing. And never store film in a humid place; moisture absorption can cause bubbling and poor powder adhesion.
Mistake 3: Skimping on Powder Application
Powder is the adhesive that makes DTF transfers work, but applying too little or too much is a common error. Too little powder and the design will not bond properly, leading to cracks after washing. Too much powder and you get a stiff, plasticky feel and excess waste. The sweet spot is a thin, even layer that covers the wet ink completely but does not pile up.
Fix: Use a powder shaker with a fine mesh, and apply in a circular motion. After shaking, gently rock the sheet to distribute powder evenly, then shake off the excess. A simple trick is to hold the sheet at a slight angle and tap the back; excess powder will fall away. Invest in a powder recovery system if you do a lot of volume; it pays for itself quickly.
Mistake 4: Rushing the Curing Step
Curing melts the powder into a smooth film, and it is tempting to speed up the process by increasing the temperature. But overheating can cause the powder to yellow or the film to shrink, while underheating leaves a grainy texture that peels. The correct curing temperature and time depend on your powder and oven, but most powders cure at around 160-170°C (320-340°F) for 2-3 minutes. However, the actual temperature inside your oven may differ from the dial.
Fix: Use an infrared thermometer to verify the actual temperature at the sheet level. Also, preheat your oven thoroughly. If you are using a heat press for curing, ensure even pressure and use a protective sheet. Always test a small sample before running a full gangsheet.
Mistake 5: Pressing with Incorrect Settings
Even a perfectly made gangsheet can fail at the press. Common pressing mistakes include insufficient pressure, wrong temperature, or pressing for too long. Each can cause the transfer to peel, crack, or scorch the fabric. For DTF, the typical press settings are 150-160°C (300-320°F) for 10-15 seconds with medium to firm pressure. But these vary by fabric and transfer type.
Fix: Always do a test press on a scrap piece of the actual fabric you will use. Check the peel after washing a sample. Also, ensure your press is level and the pressure is even across the platen. A quick tip: use a piece of Teflon sheet over the transfer to protect it and ensure even heat.
Frequently Asked Questions
How can I calculate the true cost per transfer on a DTF gangsheet?
Add up the cost of film, ink, powder, and labor for the entire sheet, then divide by the number of sellable transfers. Do not forget to include misprints and waste. Tracking this number helps you price accurately and spot inefficiencies.
What is the best way to store DTF gangsheets before pressing?
Keep them in a cool, dry place away from direct sunlight. Stack them with a protective sheet between each to prevent powder transfer. Avoid folding; store flat or roll loosely with the printed side out.
Can I reuse powder that falls off during application?
Yes, but only if it is clean and free of debris. Use a sieve to remove clumps and lint. However, recycled powder may have a shorter shelf life, so mix it with fresh powder.
Why do my DTF transfers crack after washing?
Cracking usually means insufficient powder, under-curing, or incorrect pressing pressure. Check each step: ensure powder covers all ink, cure at the right temperature, and press with enough pressure to embed the adhesive into the fabric.
How do I prevent film from curling during printing?
Curling often comes from moisture or static. Store film in a dry place, use an anti-static device, and allow film to acclimatize. Also, reduce platen temperature and ensure the film is loaded straight.