
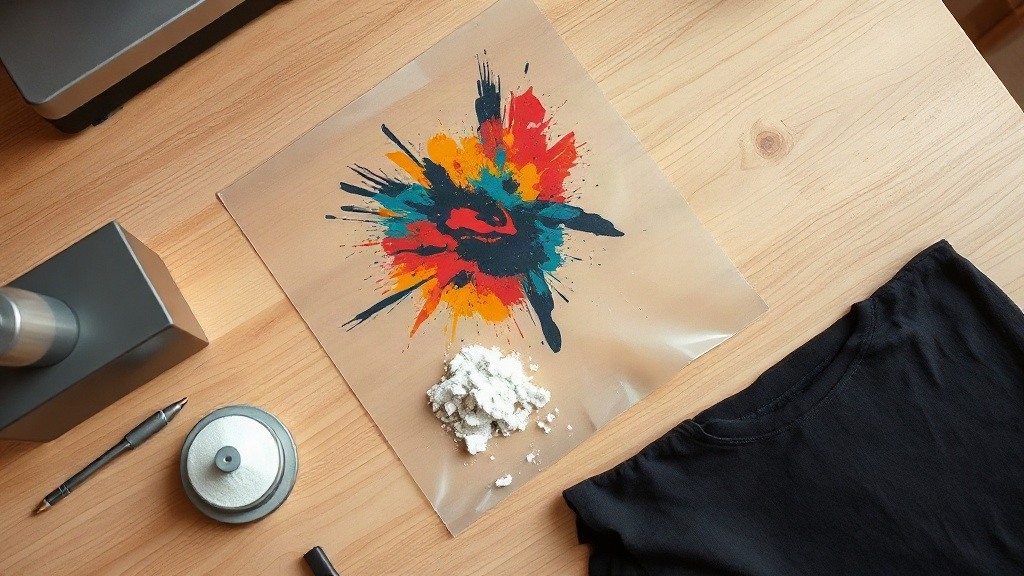
Walk into almost any custom apparel shop today and you will see a roll of PET film and a shaker of thermoplastic powder sitting next to the heat press. That setup is DTF printing, short for direct to film, and it has quietly become the most flexible way to put full-color graphics on fabric. Unlike screen printing, which needs a separate screen for every color, or vinyl cutting, which struggles with gradients, DTF lets you print a photographic image on a computer, transfer it to film, and press it onto almost any garment in your shop. The appeal is simple: one process, endless fabric options, and prints that survive real wear.
What Direct to Film Actually Is
The name describes the workflow rather than the ink. Your design is printed in reverse onto a special coated film using a modified inkjet printer loaded with pigment inks. While the ink is still wet, a fine thermoplastic powder is sprinkled across the surface. The film then passes through a curing oven or under a heat source, where the powder melts and bonds with the ink, forming a flexible adhesive layer. What you end up with is a transfer that can be stored, shipped, or pressed whenever you need it.
That powder stage is the part most people underestimate. If the powder is uneven, clumpy, or under-cured, the transfer will crack or peel no matter how good the press is. If it is over-cured, the adhesive becomes brittle and the hand feel turns plasticky. Getting this step consistent is what separates a shop that fights complaints from one that ships orders without thinking twice.
How the DTF Process Works Step by Step
Design preparation
Everything starts in your design software. Mirror the artwork horizontally before printing, because the transfer is flipped when it meets the fabric. Add a white underbase layer behind the color layer if your printer setup requires it, since white ink is what makes colors pop on dark garments. Keep fine details at least a point or two thick; hairline strokes under 0.5 mm tend to break apart during pressing.
Printing and powdering
The printer lays down the image onto the film. Immediately after, the powder application unit coats the wet ink. You want a light, even dusting rather than a thick blanket. Excess powder falls away, and what remains sticks only where there is ink. From there, the film moves into the curing zone.
Curing
Curing temperatures vary by powder type, but most fall somewhere between 160 and 170 degrees Celsius for a short dwell time. The goal is to melt the powder into a continuous film without scorching the PET carrier. A common mistake is rushing this stage at too high a temperature. The powder looks melted, but the bond is weak, and the print fails after a few washes.
Pressing onto fabric
Once cured and cooled, the transfer is ready. Set your heat press to the temperature and pressure your film supplier recommends, typically around 150 to 160 degrees Celsius for 10 to 15 seconds with medium to firm pressure. Peel the film while it is still warm or after it cools, depending on whether you are using a hot or cold peel film. This single detail trips up a lot of beginners, so check the spec sheet before you press a full order.
Why Shops Choose DTF Over Other Methods
The biggest advantage is fabric range. Cotton, polyester, blends, canvas, denim, and even some leathers accept a DTF transfer without pretreatment. Compare that to DTG, which needs a pretreat spray and performs best on 100 percent cotton, or sublimation, which only works on light polyester. With one roll of film, a shop can handle a mixed order of hoodies, tote bags, and performance shirts without switching processes.
Cost structure matters too. There is no minimum order, no screen setup fee, and no color limit. A single shirt with a twelve-color gradient costs roughly the same as a single shirt with one color. For small runs, samples, and print-on-demand work, that flexibility is hard to beat.
- No color count limit, so gradients and photographs print cleanly
- Works on dark and light fabrics without a separate white underbase step
- Transfers can be printed ahead of time and stored for weeks
- No weeding, no cutting, no screen reclaiming
Where DTF Falls Short
Honest talk: DTF is not the answer to every job. The hand feel is slightly thicker than a soft-hand screen print, especially on large solid areas. Stretch-heavy fabrics like spandex blends can pull at the edges of a transfer if the adhesive layer is not matched to the material. And while the prints are durable, they are not indestructible. A poorly cured transfer will crack along fold lines after a dozen washes, and no amount of pressing later will fix it.
There is also a learning curve around moisture. Film absorbs humidity, and damp film causes inconsistent powder adhesion. In humid climates, storing film in a sealed bag with a desiccant pack makes a measurable difference in print reliability.
Practical Tips for Better Results
Start with a test press on scrap fabric whenever you open a new roll of film or change powder brands. Record the temperature, time, and pressure that worked. Small variables compound quickly across a production run.
Keep your printer's white ink channel circulating. White pigment settles faster than color ink, and a clogged white channel ruins more transfers than any other single issue. Daily agitation and a weekly cleaning cycle will save you hours of troubleshooting.
Store finished transfers flat, away from direct sunlight and humidity. If you stack them, place a sheet of parchment between layers so the adhesive does not stick to the back of the film above it.
Frequently Asked Questions
How many washes does a DTF print typically survive?
With correct curing and pressing, most transfers hold up for 50 or more home wash cycles when washed inside out in cold water and tumble dried on low. Heat and abrasion are the main enemies, so avoiding high dryer settings extends the life significantly.
Can I use DTF on 100 percent polyester?
Yes, and this is one of its strongest use cases. Lower your press temperature slightly to avoid dye migration from the polyester into the transfer, and use a low-bleed film if you are working with bright or dark synthetic fabrics.
Do I need a special printer for DTF?
You need a printer that supports white ink and is compatible with DTF pigment inks, along with a powder shaker and curing unit. Some shops convert existing DTG printers, while others buy dedicated DTF printers built for the workflow.
What causes a DTF transfer to peel at the edges?
Edge peeling usually comes from uneven pressure across the platen, insufficient press time, or powder that did not fully melt. Check that your press is level, increase dwell time slightly, and verify your curing temperature with an infrared thermometer rather than trusting the dial.
Can DTF transfers be applied with a home iron?
It is possible but unreliable. A home iron does not deliver even pressure or consistent temperature, so the adhesive cures unevenly. If you are selling finished garments, a proper heat press is the only way to guarantee a durable result.