
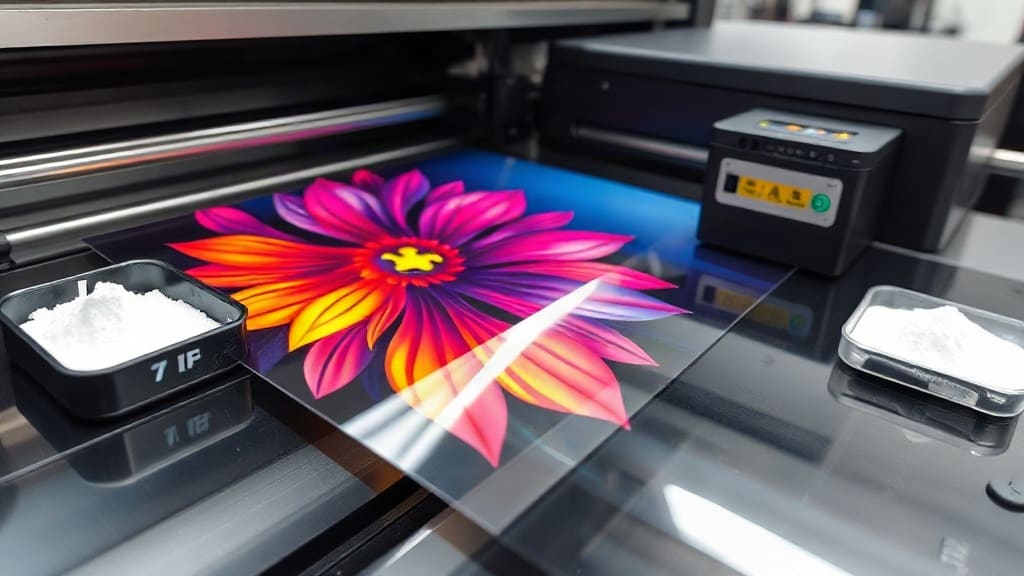
DTF, or direct-to-film printing, has taken the custom apparel industry by storm. If you've been searching for a way to create vibrant, durable designs on a wide range of fabrics without the limitations of traditional methods, this guide is for you. Whether you're a small business owner, a hobbyist, or someone just curious about the technology, understanding DTF can open up a world of possibilities. In this comprehensive article, we'll dive deep into what DTF is, how it works, its advantages, essential equipment, and a step-by-step process to get you started.
What is DTF Printing?
Direct-to-film (DTF) is a printing method that involves printing your design onto a special PET film using a DTF printer, then transferring that design onto fabric using a heat press and adhesive powder. Unlike DTG (direct-to-garment) which prints directly on the shirt, DTF prints on a transfer film first, allowing you to apply the design to various materials, including cotton, polyester, blends, and even hard surfaces like mugs or wood.
How Does DTF Work?
The process is straightforward but requires precision. First, you print your design in reverse onto the film using specialized CMYK+W inks. While the ink is still wet, you apply a hot-melt adhesive powder to the film. The powder sticks only to the inked areas. After shaking off the excess, you cure the powder by heating it, which fuses the adhesive to the ink. When you're ready to transfer, you place the film on the garment, apply heat and pressure with a heat press, and peel off the film. The result is a soft, stretchy, and durable print that feels like part of the fabric.
Advantages of DTF Printing
- Versatility: Works on many fabrics and surfaces, including dark and light colors.
- Soft hand feel: The transfers are flexible and thin, maintaining a soft touch.
- Durability: Prints withstand repeated washing without cracking or fading.
- No pre-treatment required: Unlike DTG, you don't need to pre-treat the garment.
- Cost-effective for small batches: No screen setup fees, making it ideal for custom orders.
- White ink capability: Can print white underbase for vibrant colors on dark garments.
Essential Equipment for DTF Printing
To get started with DTF, you'll need specific equipment. Here's a breakdown of what you'll require:
1. DTF Printer
You can use a modified Epson or a dedicated DTF printer. These printers are equipped with pigment inks, including white ink, and often have a built-in circulation system to prevent clogging. Choose a printer that suits your volume needs, from entry-level models to industrial ones.
2. DTF Inks
High-quality pigment inks are essential for vibrant, long-lasting prints. The CMYK colors plus white are standard. Ensure your inks are compatible with your printer and film for optimal results.
3. PET Film
This is the transfer film onto which you print. It comes in different thicknesses and coatings. A good film ensures proper ink adhesion and easy peeling.
4. Adhesive Powder
Hot-melt powder is crucial. It activates under heat and bonds the design to the fabric. The particle size can affect the hand feel and washability.
5. Powder Shaker and Curing Oven or Dryer
After powder application, you need to melt the powder. A dedicated curing oven or a heat press can work, but a powder curing oven gives consistent results.
6. Heat Press
You'll need a heat press to transfer the design. A clamshell or swing-away press works fine, but ensure it has accurate temperature control and even pressure.
Step-by-Step DTF Transfer Process
Once you have your equipment, follow these steps to produce a quality transfer:
- Design and Print: Create your design in reverse (mirrored) and print it onto the PET film using the correct settings. Ensure the white ink is printed as a base if needed.
- Apply Adhesive Powder: While the ink is still wet, cover the printed area with the hot-melt powder. Shake off the excess and ensure even coverage.
- Cure the Powder: Heat the film with the powder using a heat source or curing oven. The powder will melt and become sticky.
- Transfer: Preheat your garment for a few seconds. Place the film on the garment, powder side down. Apply heat and pressure with your heat press for the recommended time (usually 15-20 seconds at 320°F).
- Peel: After pressing, let it cool briefly, then peel off the film. For best results, do a cold peel or warm peel depending on the film type.
Tips for Perfect DTF Transfers
- Test your settings: Different films, inks, and powders may require tweaks in time and temperature. Always run a test print.
- Use quality materials: Cheap film or powder can ruin your prints. Invest in reputable brands.
- Maintain your printer: Clean the printhead regularly to prevent white ink clogging, which is common in DTF.
- Handle with care: The film is delicate before curing. Avoid touching the inked area.
- Press with even pressure: Uneven pressure can cause partial adhesion.
DTF vs. Other Printing Methods
Many people wonder how DTF compares to screen printing and DTG. Screen printing is excellent for large orders with few colors, but it's costly for small batches and complex designs. DTG works well on cotton but struggles with dark fabrics and requires pre-treatment. DTF offers a middle ground: it's cost-effective for small to medium runs, works on many fabrics, and produces soft, durable prints. Plus, you can store transfers for later use, saving time on repeat orders.
Common Mistakes to Avoid
- Skipping the shake: Not shaking off excess powder leads to rough hand feel.
- Overcuring the powder: This can make the adhesive too hard and brittle.
- Using fabric softener: On the garment before transfer can hinder adhesion.
- Not pre-pressing the garment: Moisture and wrinkles can cause poor results.
- Ignoring film type: Some films require a cold peel, others a hot peel. Follow instructions.
Cost Considerations
Starting a DTF business involves initial investment in equipment, but the ongoing costs are low. You'll need to factor in the cost of inks, film, powder, and electricity. However, because you can print multiple designs on one sheet, you minimize waste. As you grow, you can offer custom transfers to other businesses, creating an additional revenue stream.
Frequently Asked Questions
Can DTF prints withstand washing?
Yes, when applied correctly, DTF prints are highly washable. They can withstand multiple washes without cracking, fading, or peeling, provided you follow the care instructions which typically recommend washing inside out in cold water and avoiding bleach.
What fabrics work best with DTF?
DTF works on 100% cotton, polyester, cotton-poly blends, and even nylon and leather. It's particularly useful for dark fabrics because the white ink base ensures colors remain vibrant. However, always test on a sample of your fabric to ensure compatibility.
Do I need a special printer for DTF?
Yes, you need a printer capable of handling pigment inks and white ink. Many people convert Epson EcoTank printers, but it's recommended to use a purpose-built DTF printer to avoid clogging and achieve better color accuracy. These printers have a specialized white ink circulation system.
How long does a DTF transfer last?
With proper care, a DTF transfer can last as long as the garment itself. The key is to use quality materials and follow the correct application parameters. Many users report prints lasting over 50 washes without significant degradation.
Is DTF printing cost-effective for small orders?
Absolutely. Unlike screen printing, there are no setup fees, so you can print one-off items or small batches profitably. This makes DTF ideal for custom orders, personalized gifts, and print-on-demand businesses.