
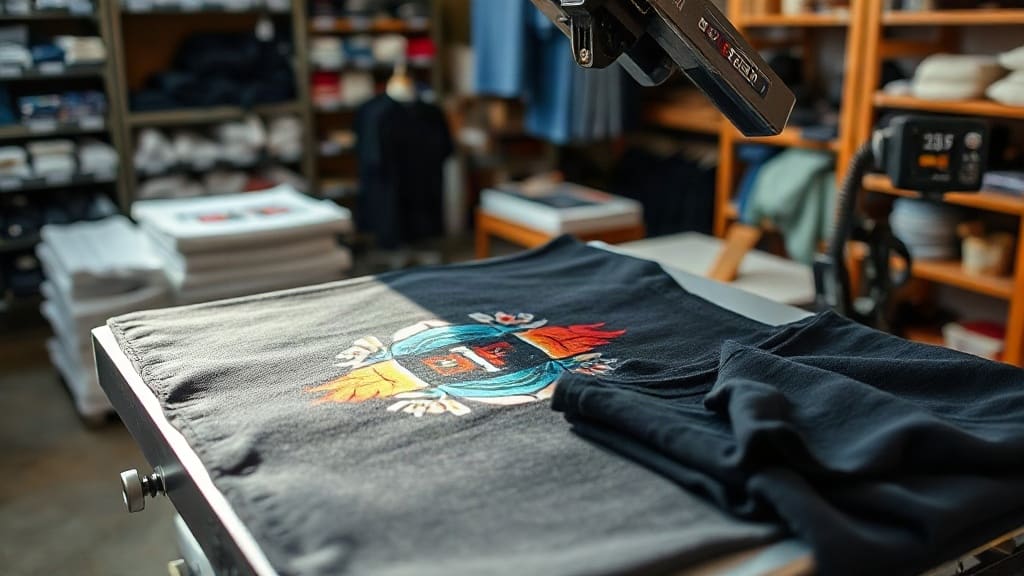
Are you tired of complicated printing methods that limit your creativity? DTF transfers are changing the game for custom apparel. This versatile technique lets you print vibrant designs on almost any fabric without the hassle of weeding or specialized pretreatment. Whether you're a small business owner or a DIY enthusiast, understanding how DTF works can open up new possibilities for your projects.
In this guide, we'll break down everything you need to know about DTF transfers, from the basics to advanced tips. You'll learn how to choose the right materials, get the best results, and avoid common pitfalls. Let's dive in.
What Are DTF Transfers?
DTF stands for Direct to Film. It's a printing method where a design is printed onto a special PET film using a DTF printer. After printing, an adhesive powder is applied to the wet ink, and the film is heated to melt the powder. Once cooled, the transfer is ready to be applied to a garment using a heat press. The result is a soft, flexible print that can stretch with the fabric.
How Do DTF Transfers Work?
The process might sound complex, but it's quite straightforward. Here’s a step-by-step breakdown:
- Printing: Your design is printed in reverse onto a PET film using white and CMYK inks. The white ink acts as a base, making colors pop on dark fabrics.
- Adhesive Powder: While the ink is still wet, a hot-melt adhesive powder is applied to the film. This powder is what binds the ink to the fabric during heat pressing.
- Heat Set: The film with the powder is heated to partially cure the adhesive. This makes it easier to handle and store.
- Application: To transfer the design, place the film on your garment with the design facing down, and press with a heat press at around 350°F (175°C) for about 10-15 seconds.
- Peel: After pressing, peel the film away to reveal your vibrant, durable print.
Why Choose DTF Transfers? Pros and Cons
Like any method, DTF has its advantages and limitations. Here’s what you need to know:
Pros of DTF Transfers
- Versatility: You can print on cotton, polyester, blends, and even hard surfaces like wood or glass.
- No Weeding: Unlike vinyl, there's no need to weed intricate designs. The film is already cut to size, so you just print and go.
- Vibrant Colors: The white base makes colors pop even on dark fabrics.
- Soft Hand Feel: The prints are soft and stretchable, not stiff like traditional vinyl.
- Cost-Effective for Small Runs: No screens or setup fees, making it perfect for custom orders.
Cons of DTF Transfers
- Initial Investment: You'll need a DTF printer and a heat press, which can be pricey.
- Learning Curve: There are nuances to getting the right powder and curing times.
- Edge Definition: For very fine details, DTF might not be as sharp as screen printing.
Essential Supplies for DTF Printing
To get started, you'll need a few key items. Here's a checklist:
- DTF printer (or a converted Epson printer)
- PET film
- DTF inks (CMYK + white)
- Hot-melt adhesive powder
- Heat press
- Teflon sheet or parchment paper (for pressing)
Step-by-Step Guide: How to Apply DTF Transfers
Applying a DTF transfer is easy, but precision matters. Follow these steps for perfect results:
- Prepress your garment: Press the shirt for 2-3 seconds to remove moisture and wrinkles.
- Position the transfer: Place the film on the garment with the design facing down. Ensure it's centered.
- Press: Cover with a Teflon sheet and press at 350°F (175°C) for 10-15 seconds. Use medium to firm pressure.
- Peel: Wait a few seconds, then peel the film off. For best results, peel warm.
- Post-press (optional): Press again with a protective sheet for 2-3 seconds to enhance durability.
Tips for Perfect DTF Transfers
Getting consistent, high-quality prints requires attention to detail. Here are some pro tips:
- Test your settings: Every fabric and film can vary. Keep a log of time, temperature, and pressure for different materials.
- Use the right powder: Not all powders are created equal. Choose a fine powder for smooth prints and a coarse powder for a textured, matte finish.
- Maintain your printer: Clogged nozzles ruin prints. Run a cleaning cycle regularly and use high-quality inks.
- Pre-press dark garments: Always pre-press dark shirts to remove moisture that can cause bubbling.
- Store transfers properly: Keep unused transfers in a cool, dry place to prevent the adhesive from degrading.
DTF Transfers vs. Other Methods
How does DTF stack up against alternatives like screen printing or vinyl? Let’s compare:
DTF vs. Screen Printing
Screen printing is great for large batches because the per-unit cost drops. However, setup is expensive and time-consuming. DTF is perfect for short runs and allows full-color prints without extra screens.
DTF vs. Vinyl
Vinyl requires cutting and weeding, which is tedious for complex designs. DTF handles gradients and photographic images easily. Plus, vinyl tends to crack and peel over time, while DTF prints are more durable and flexible.
DTF vs. Direct-to-Garment (DTG)
DTG prints directly onto the shirt and is great for soft, high-detail prints. But DTG requires expensive pretreatment for dark fabrics and is slower. DTF transfers can be pre-printed and applied later, making them ideal for on-demand production.
Creative Applications of DTF Transfers
Beyond t-shirts, DTF transfers can be used on:
- Hoodies and sweatshirts
- Tote bags and backpacks
- Pillows and home decor
- Pet bandanas
- Stickers and decals
Because the transfer is pre-printed, you can offer a wide range of products without stocking inventory. Just print and apply when an order comes in.
How to Start a DTF Transfers Business
If you're considering turning this into a business, here are some steps:
- Research equipment: Invest in a reliable DTF printer. Look for models that are easy to maintain and have good support.
- Find suppliers: Source quality films, inks, and powders from reputable vendors.
- Create samples: Test on different fabrics to build a portfolio and refine your process.
- Set pricing: Factor in material costs, overhead, and your time. Compare with local competitors to stay competitive.
- Market your services: Use social media to show your work. Offer promotions to attract initial customers.
FAQ About DTF Transfers
Can I use DTF transfers on any fabric?
Yes, DTF transfers work well on cotton, polyester, blends, and even nylon. However, for very stretchy fabrics like spandex, test first to ensure the print doesn't crack.
How long do DTF prints last?
With proper care, DTF prints can last for many washes. Wash garments inside out in cold water and avoid harsh detergents to prolong the life of the print.
Do I need a special printer for DTF?
Yes, you need a printer that can handle white ink and PET film. Many people convert Epson printers, but there are also dedicated DTF printers that come with a powder shaker and curing unit.
Can I use DTF transfers without a heat press?
No, a heat press is essential for applying the transfer. While you might get away with an iron, it won't provide even pressure and temperature, leading to poor results.
How do I store DTF transfers?
Keep them in a sealed bag in a cool, dry place away from direct sunlight. Moisture can cause the adhesive to activate prematurely, ruining the transfer.
Conclusion
DTF transfers are a fantastic option for custom printing, offering flexibility, durability, and vibrant results. Whether you're a hobbyist or a business owner, mastering this technique can elevate your projects. Start with quality supplies, practice your pressing technique, and don't be afraid to experiment. Soon, you'll be producing professional-grade prints that your customers will love.