
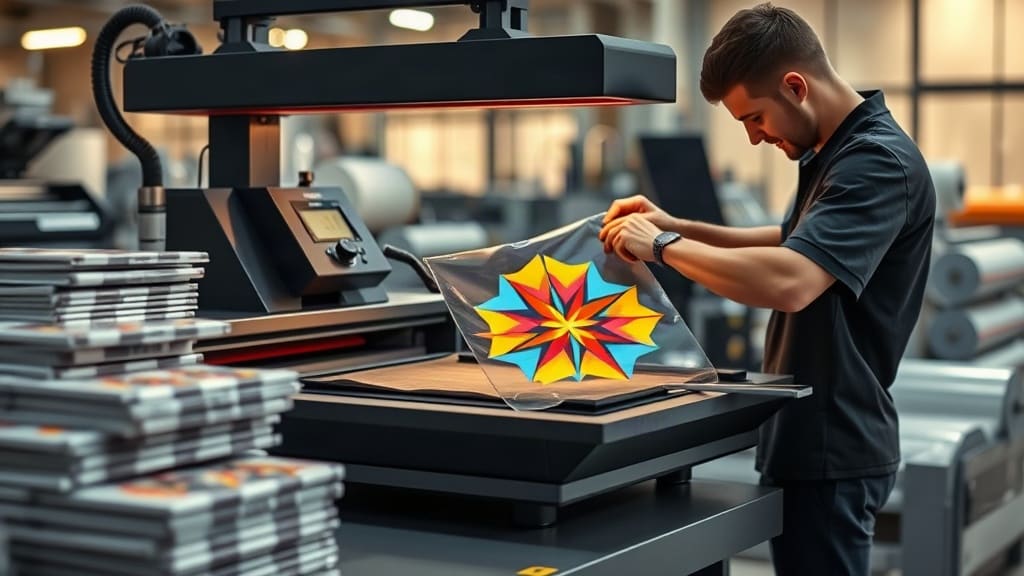
If you're in the custom apparel business, you've likely heard about DTF transfers. This innovative printing method has taken the industry by storm, offering vibrant colors, durability, and versatility. But what exactly are DTF transfers, and how can you use them to grow your business? In this comprehensive guide, we'll break down everything you need to know, from the basics to advanced techniques.
What Are DTF Transfers?
DTF stands for Direct to Film. It's a printing process where a design is printed onto a special PET film using a DTF printer, then transferred onto fabric using heat and pressure. Unlike traditional screen printing or heat transfer vinyl, DTF allows for high-detail, full-color prints on a wide range of fabrics, including cotton, polyester, blends, and even leather.
One of the biggest advantages of DTF transfers is that they don't require weeding. The design is printed with CMYK ink and a white underbase, then covered with a hot-melt adhesive powder. When you apply heat and pressure, the powder melts and bonds the design to the fabric, creating a soft, stretchable, and long-lasting print.
Why Choose DTF Transfers?
There are several reasons why DTF has become a favorite among small and large printing businesses alike. Here are some of the key benefits:
- Versatility: You can print on almost any fabric, including dark and light colors, without the need for pre-treatment.
- Durability: The prints are wash-resistant and can withstand multiple washes without fading or cracking.
- Soft feel: Unlike thick vinyl, DTF prints have a soft, almost non-existent hand feel.
- High detail: Thanks to the digital printing process, you can achieve fine details and vibrant colors.
- No minimum order: You can print one-off custom items or small batches without setup costs.
How DTF Transfers Work: A Step-by-Step Overview
Understanding the process can help you produce better results and troubleshoot issues. Here's a simple breakdown:
1. Printing the Design
Using a DTF printer, your design is printed in reverse (mirror image) onto a PET film. The printer uses CMYK plus white ink to lay down the white underbase first, then the colored layers on top. This ensures that the design pops on dark fabrics.
2. Applying Adhesive Powder
While the ink is still wet, a hot-melt adhesive powder is applied evenly over the printed film. The powder sticks to the wet ink. After shaking off the excess, the film is passed through a curing oven or heat press to melt the powder, which creates a strong bonding layer.
3. Pre-Pressing the Garment
Before transferring, you should pre-press your garment for a few seconds to remove moisture and wrinkles. This step ensures a smooth transfer surface.
4. Transferring the Design
Place the printed film onto the garment with the design facing down (the film side up). Apply heat and pressure using a heat press. The typical settings are around 160°C (320°F) for 10-15 seconds, but always check the powder manufacturer's recommendations.
5. Peeling the Film
After pressing, let the garment cool for a few seconds, then carefully peel off the film. If the design isn't fully adhered, you can re-press it for a few more seconds.
Essential Equipment and Supplies for DTF Transfers
To start with DTF, you'll need the following:
- DTF printer (converted or dedicated)
- PET film rolls
- DTF inks (CMYK + white)
- Hot-melt adhesive powder
- Heat press or curing oven
- Shaker or powder application system
If you're not ready to invest in all the equipment, many suppliers offer pre-made DTF transfers that you can buy in bulk. This is a cost-effective way to test the waters or handle overflow orders without buying extra machinery.
Tips for Perfect DTF Transfers Every Time
Getting consistent results requires attention to detail. Here are some pro tips:
Use High-Quality Films and Powders
Not all films and powders are created equal. Invest in reputable brands to avoid issues like poor adhesion or cracking.
Calibrate Your Heat Press
Use a heat press with accurate temperature control. Test on a scrap fabric to ensure the temperature is correct. Inconsistent heat can lead to under- or over-curing.
Don't Skip the Pre-Press
Always pre-press your garments to remove moisture. Even a few seconds can make a big difference in the final result.
Store Your Transfers Properly
If you're making transfers in advance, store them in a cool, dry place away from direct sunlight. Exposure to heat or humidity can affect the adhesive.
Press with Even Pressure
Make sure the heat press applies even pressure across the entire design. Use a Teflon sheet or silicone pad to protect the film and garment.
Common Mistakes and How to Avoid Them
Even experienced printers run into issues. Here are some common pitfalls:
- Wrong temperature: Too hot and the ink can scorch; too cool and the powder won't cure. Follow the guidelines.
- Not enough pressure: If the transfer doesn't adhere fully, increase pressure or pressing time.
- Peeling too soon: Always wait for the recommended cooling time to avoid design distortion.
- Ignoring fabric type: While DTF works on many fabrics, some like nylon or spandex may require special care or lower temperatures.
DTF vs. Other Printing Methods
How does DTF stack up against alternatives like screen printing, DTG, and vinyl? Here's a quick comparison:
- Screen printing: Ideal for large bulk orders but expensive for small runs. DTF offers more flexibility.
- DTG (Direct to Garment): Great for high detail but slower and limited to cotton garments. DTF works on more fabrics and has a softer feel.
- Heat Transfer Vinyl: Limited to simple designs with layered colors. DTF handles full-color prints effortlessly.
For most small businesses, DTF transfers offer the best balance of cost, convenience, and quality.
Frequently Asked Questions
Can DTF transfers be used on 100% cotton shirts?
Yes, DTF transfers work exceptionally well on 100% cotton. The white underbase ensures vibrant colors, and the adhesive bonds strongly to the fabric fibers. For best results, pre-press the shirt to remove any moisture and follow the recommended temperature and pressure settings.
How many washes can a DTF transfer withstand?
With proper application, DTF transfers can withstand 40 to 60 washes without significant fading or cracking. To extend the life, wash garments inside out in cold water and avoid using bleach or fabric softeners. Air drying is gentler than machine drying.
Do I need special software to design for DTF printing?
You can use any graphic design software like Adobe Illustrator, Photoshop, or even free tools like Canva or Inkscape. The key is to ensure your design has a transparent background and is of high resolution. If you're printing with a DTF printer, your RIP software will handle color separation and white underbase generation.
What is the minimum order quantity for custom DTF transfers?
One of the biggest advantages is that you can order a single transfer. Many suppliers, including dtfpressmax.com, offer no minimum order quantities, making it ideal for personalized gifts or test orders.
Can DTF transfers be applied to other materials besides fabric?
Yes, DTF transfers can be applied to various materials such as tote bags, aprons, caps, and even leather goods. However, the heat and pressure settings may need to be adjusted. Always test on a small area first to ensure the material can withstand the heat.
Final Thoughts
DTF transfers have revolutionized the custom apparel industry with their flexibility, durability, and ease of use. Whether you're a hobbyist or a growing print shop, incorporating DTF into your workflow can open up new opportunities and streamline your production. By understanding the process, investing in good equipment, and following the tips outlined here, you'll be well on your way to creating stunning, long-lasting prints that your customers will love. So, why not give DTF a try? Your next order of DTF transfers could be just a click away.