
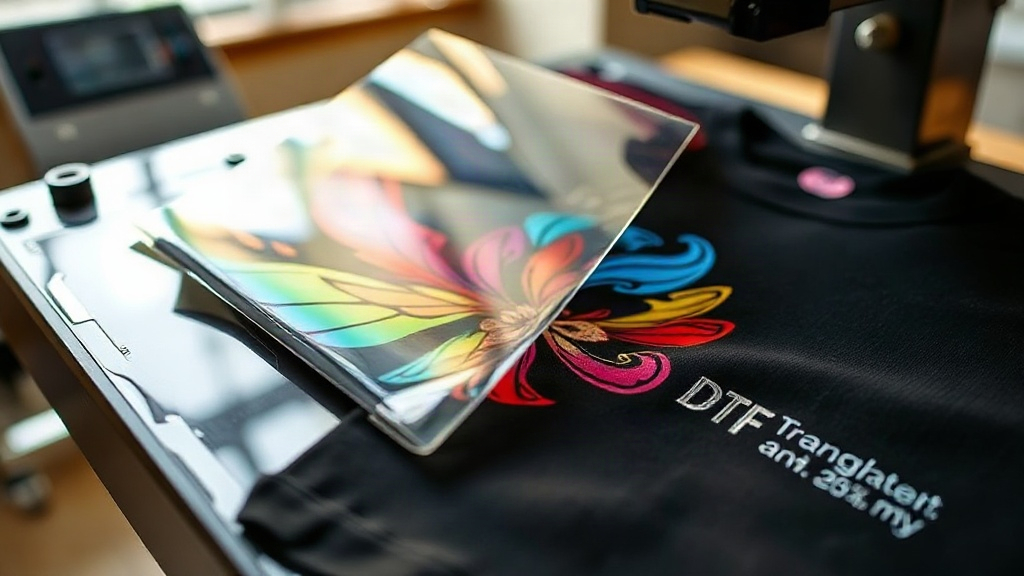
If you've been in the custom apparel game for any length of time, you've likely heard the buzz about DTF transfers. This technology has rapidly become a go-to for creators who want vibrant, durable prints on a wide range of fabrics without the hassle of weeding or the limitations of traditional methods. But what exactly makes DTF so special, and how can you harness its power for your own projects? In this guide, we'll dive deep into the world of DTF transfers, from the science behind the adhesion to the step-by-step application process, and share insights that only come from hands-on experience. Whether you're a seasoned pro or just starting out, you'll find practical advice to elevate your printing game.
What Are DTF Transfers?
DTF stands for Direct to Film. It's a printing method where your design is printed onto a special film, coated with a heat-activated adhesive powder, and then transferred onto fabric using a heat press. Unlike DTG (Direct to Garment) which prints directly onto the shirt, DTF separates the printing and application steps, offering greater flexibility and often more vibrant results on dark fabrics. The process involves a specialized printer, DTF ink, PET film, and adhesive powder. The magic happens when the powder melts under heat, bonding the ink to the fabric fibers. This creates a print that stretches with the garment, resists cracking, and maintains color intensity wash after wash.
Why DTF Transfers Are Gaining Popularity
The rise of DTF isn't just hype; it's driven by real advantages that address pain points of other methods. Here's why businesses and hobbyists are switching:
- No weeding or masking: Unlike vinyl, DTF doesn't require tedious weeding of tiny details. You print, powder, cure, and press. That's it.
- Works on almost any fabric: Cotton, polyester, blends, even nylon and leather. DTF adheres beautifully without the need for pre-treatment.
- Vibrant colors on dark garments: DTF uses a white ink base, so colors pop on black or navy shirts just as brightly as on white.
- Durability: When applied correctly, DTF prints outlast many other methods, withstanding 50+ washes without fading or cracking.
- Cost-effective for short runs: No screens or plates needed, making it ideal for one-offs and small batches.
These benefits have made DTF a favorite for custom t-shirts, tote bags, and even promotional items. But to get the most out of it, you need to understand the nuances.
The DTF Transfer Process: Step by Step
Let's walk through the process from start to finish. While it might seem straightforward, attention to detail at each stage is crucial for professional results.
1. Design Preparation
Start with a high-resolution image. DTF printers typically use CMYK+White inks, so ensure your design is in CMYK mode and has transparent backgrounds where needed. Mirror your design horizontally before printing, as the film will be flipped during transfer.
2. Printing
Load your DTF film into the printer, ensuring the matte side (if applicable) faces the correct direction. Print at the recommended settings for your printer and film. The printer will lay down a layer of white ink first (for opacity), followed by CMYK colors.
3. Powder Application
While the ink is still wet, sprinkle the adhesive powder evenly over the print. Shake off excess gently. You want a uniform coating that sticks to the ink but not the bare film.
4. Curing
Place the film in a curing oven or under a heat source (like a heat press with no pressure) at around 320°F (160°C) for 2-3 minutes, or until the powder melts and becomes glossy. This step is critical; undercuring leads to poor adhesion, overcuring can damage the film.
5. Transferring
Set your heat press to 320°F (160°C) with medium pressure. Pre-press the garment for a few seconds to remove moisture. Place the DTF transfer on the garment, cover with a Teflon sheet or parchment paper, and press for 10-15 seconds. Peel the film while hot (or cold, depending on the film type) in a smooth, consistent motion.
DTF vs. Other Printing Methods
How does DTF stack up against DTG, screen printing, and vinyl? Here's a quick comparison:
- DTG: Best for 100% cotton, but requires pre-treatment and can look faded on dark shirts. DTF excels on polyester and dark fabrics.
- Screen Printing: Cost-effective for large orders, but setup costs are high and color changes are time-consuming. DTF shines for short runs and detailed designs.
- Vinyl: Great for simple text and shapes, but weeding is labor-intensive and multi-color designs are tricky. DTF handles complex, full-color images with ease.
While each method has its place, DTF offers a unique blend of versatility, durability, and visual impact that's hard to beat.
Common Challenges and How to Overcome Them
Even with a solid process, issues can arise. Here are some common problems and their solutions:
Adhesion Problems
If the transfer peels off after washing, it's likely due to insufficient pressure, incorrect temperature, or undercuring. Ensure your heat press is calibrated and apply consistent pressure. Also, make sure the powder is fully melted.
Color Fading
Fading often results from overcuring or using low-quality ink. Stick to reputable DTF inks and follow the curing guidelines precisely. Washing inside out in cold water and avoiding bleach will also extend the life of your print.
Film Sticking
If the film sticks to the garment, it may be because you peeled too soon or too late. Check the film's instructions for hot vs. cold peel. Also, ensure the transfer is completely cool before peeling if using cold-peel film.
Expert Tips for Flawless DTF Transfers
After countless transfers, I've picked up a few tricks that make a big difference:
- Use a quality heat press: A reliable press with even pressure and accurate temperature is your best investment. Irons and cheap presses lead to inconsistent results.
- Pre-press your garment: This removes wrinkles and moisture, ensuring a smooth surface for adhesion.
- Test your settings: Every fabric and film combination can behave differently. Always do a test press on a scrap piece before running a full batch.
- Store transfers properly: Keep unused transfers in a cool, dry place away from direct sunlight to prevent premature curing.
- Wash with care: Advise your customers to wait 24 hours before washing, turn garments inside out, and use cold water.
Frequently Asked Questions About DTF Transfers
How long do DTF transfers last?
With proper application and care, DTF transfers can last as long as the garment itself, often exceeding 50 washes without significant fading or cracking.
Can I use DTF transfers on 100% polyester?
Absolutely! DTF works great on polyester, even on high-performance fabrics. The key is to use a lower temperature (around 280-300°F) to avoid scorching the fabric.
Do I need a special printer for DTF?
Yes, DTF requires a dedicated DTF printer that uses DTF inks and can handle PET film. However, you can also buy pre-printed transfers from suppliers if you don't want to invest in a printer.
What is the best way to store DTF transfers?
Store them flat in a cool, dry place, away from direct sunlight and moisture. Avoid stacking heavy objects on top, as this can cause the powder to flake off.
Can I layer DTF transfers?
Yes, you can layer multiple transfers to create complex designs. Just press each layer separately, allowing it to cool before adding the next. This technique opens up endless creative possibilities.
DTF transfers are more than just a trend; they're a versatile tool that can elevate your custom apparel business. By understanding the process, avoiding common pitfalls, and applying these expert tips, you'll be producing professional-grade prints that delight your customers. So fire up your printer, grab some film, and start experimenting. The world of DTF is waiting for your creativity.